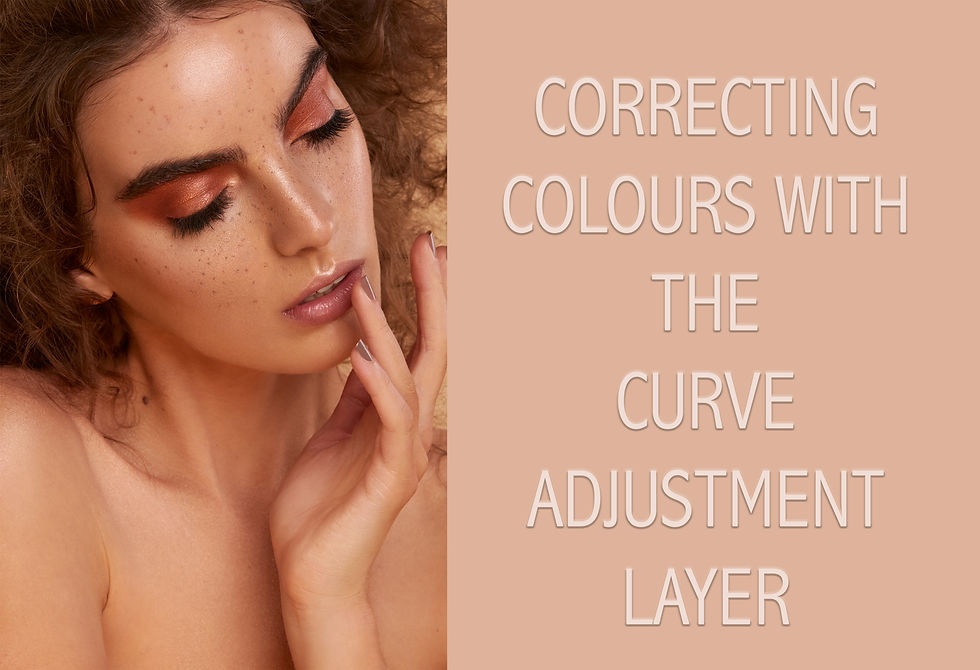
Easy way to colour correct in Photoshop
- iulia david
- Mar 21, 2018
- 2 min read
One of the questions I am asked a lot at my workshops is how do I correct inconsistency in colour tones in an image. Sometimes, when you're only using one light, or because of tan/ cold your model might have a different colour hands/ chest compared with her face. I have a few ways of dealing with this issue, but today I will be sharing the one that I has recently become my go to ‘fix’.- Curves Adjustment Layer.
Below you will see a before and after of one of my images.
Pease note, apart from the colour correction, that is an unedited image.


What you need to do?
1. Open your image.
2. Go to Adjustment Layers and select curves.
When adjusting an RGB image, the upper-right area of the graph represents the highlights and the lower-left area represents the shadows.

3. If your hand is darker (usually that's the issue, drag the the curves layer to make it brighter in the RGB .Also in my case the model's hand was a bit magenta/red, so i also went and drag the middle point in the Green, Red and Blue curve layer.
At this stage you can press CMD+i( Mac) or CTRL+i(Windows) to invert your layer mask.

4. Take a white soft brush, with 100% opacity and flow and start painting on the area you want to fix- in this case her hand.

5. Go back to the your curves adjustment layer and change anything if necessary.
6. Go to your Adjustment Layers and make another curves layer and repeat the same process for her chest until you're satisfied with your final image.
I hope you found this useful.
Feel free to message me if you have any questions and share if you enjoyed it!

Comments